

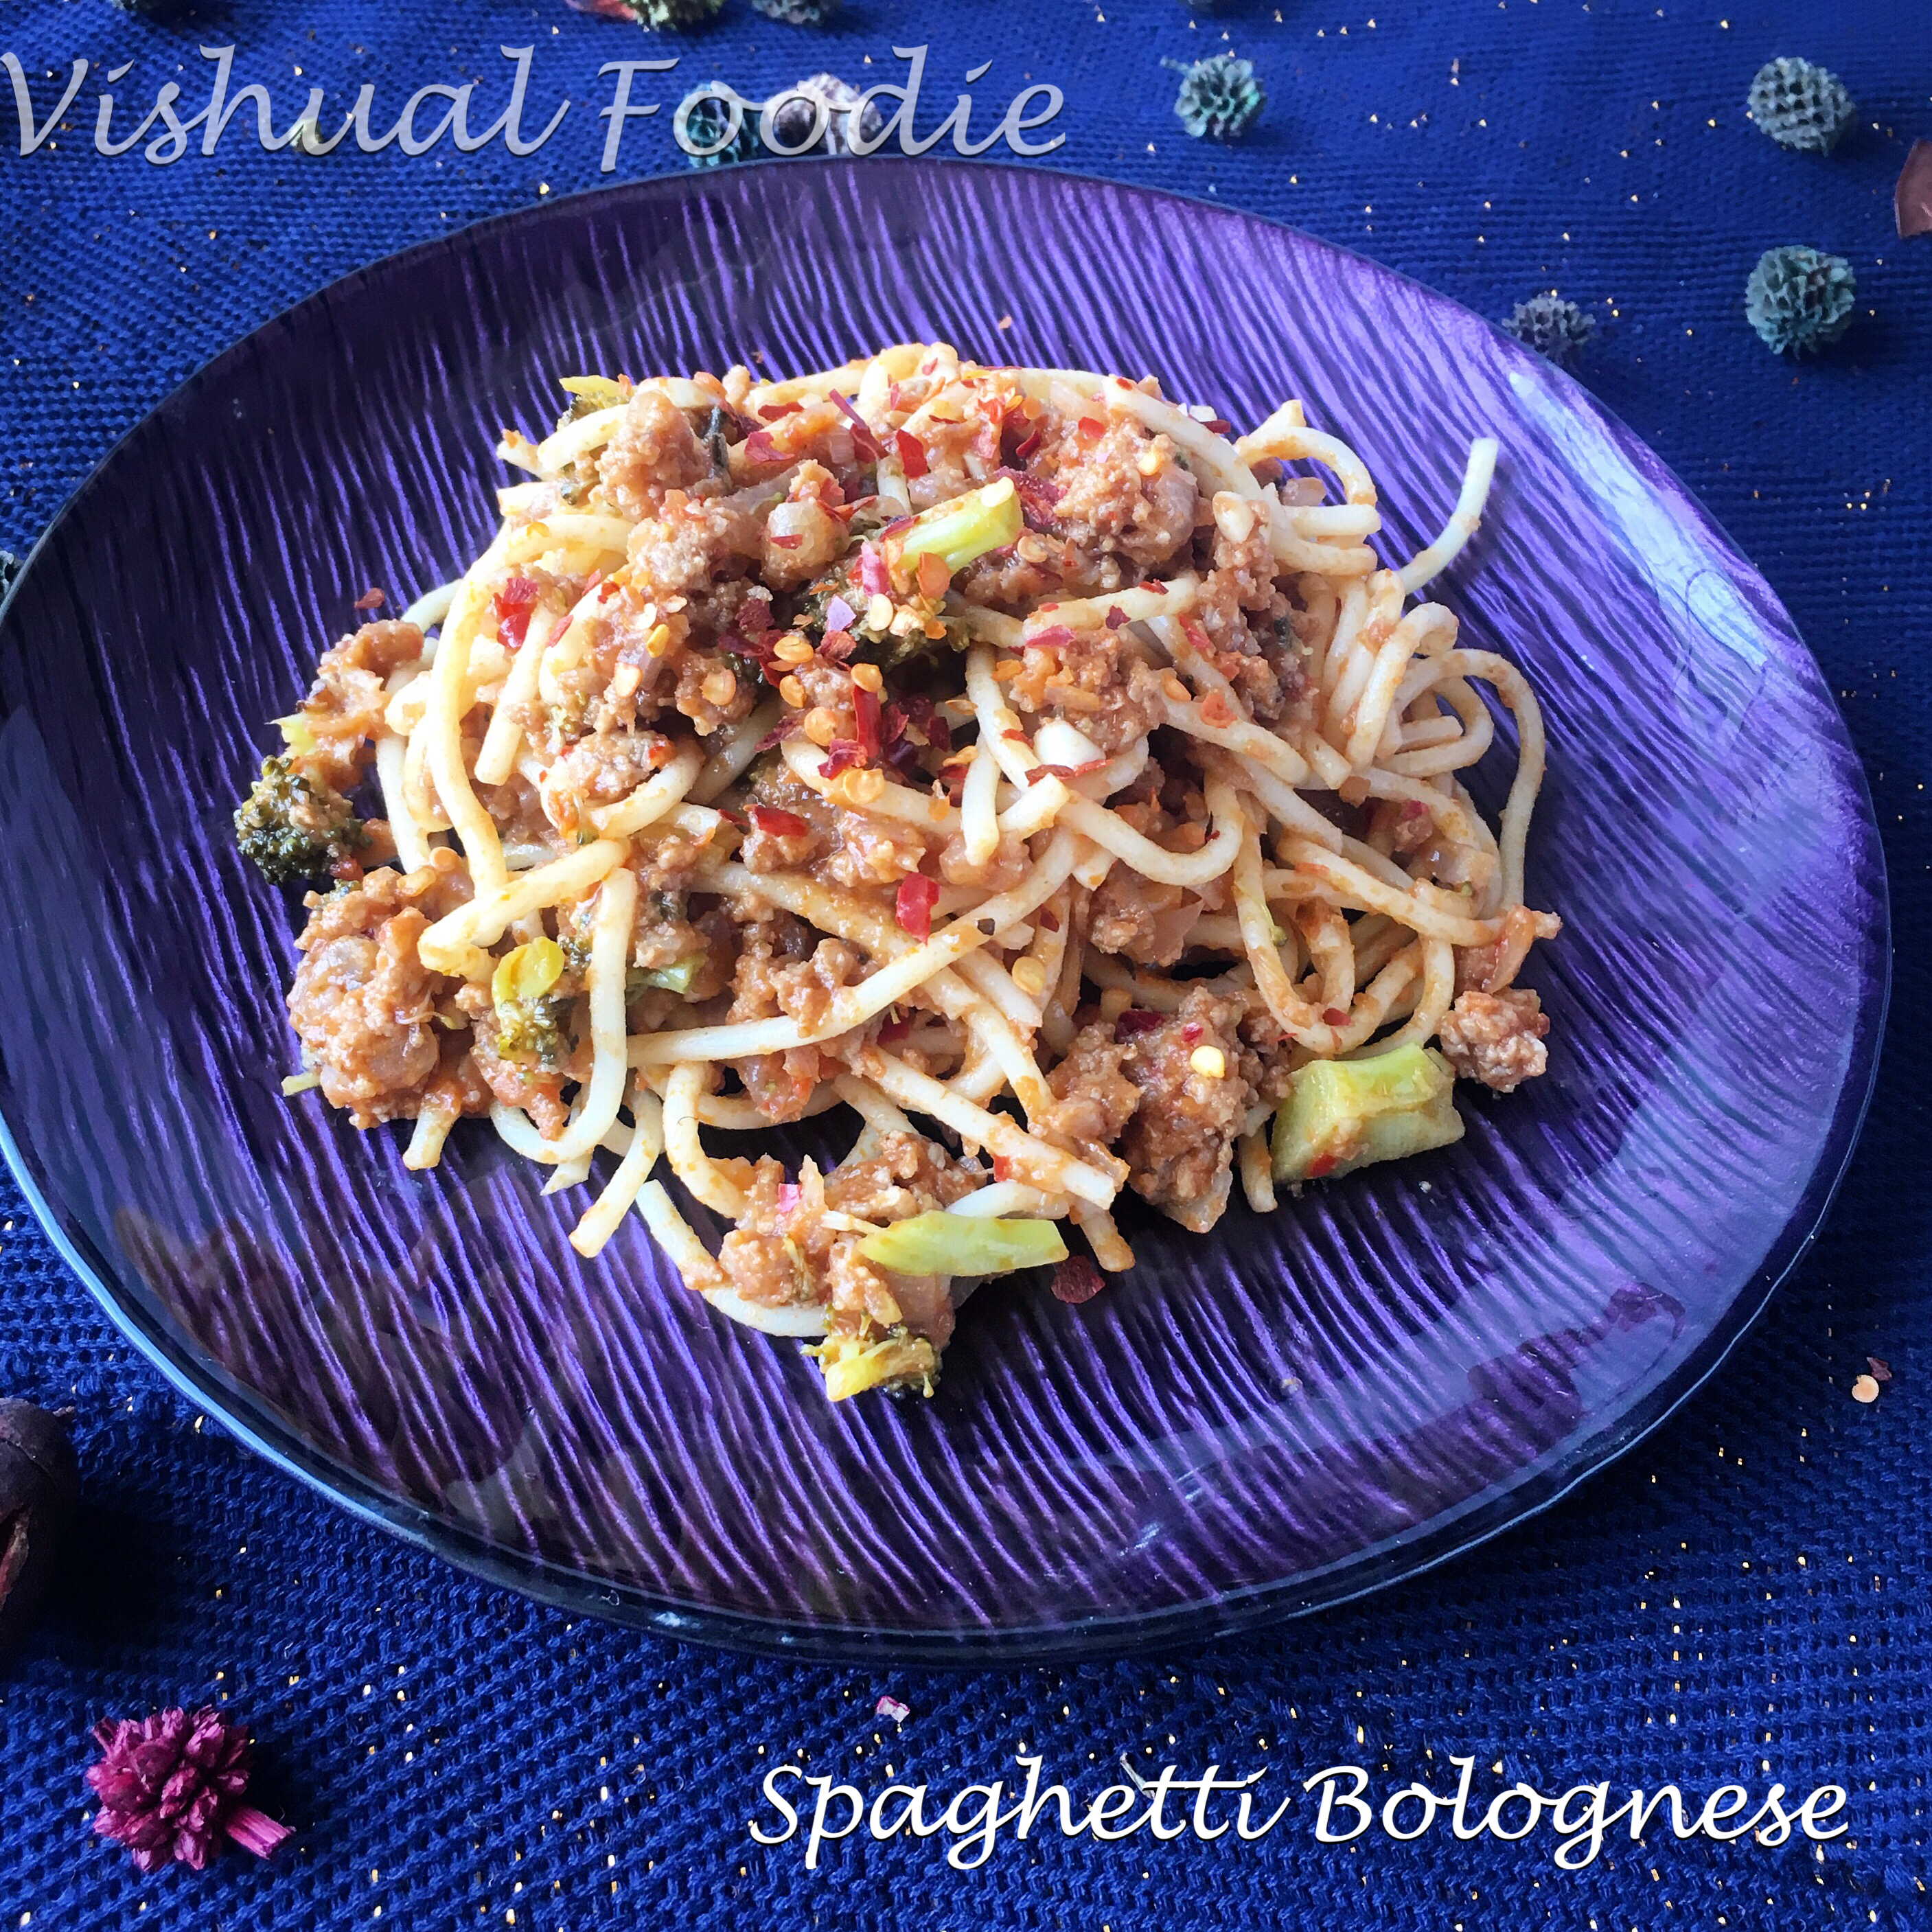
Since getting involved with new ventures, I barely have time to try out new dishes. Sometimes even when I do I don’t have the time to click pictures esp for my blog. Everyone has been on my case – Get the blog active again. Slowly and steadily I am attempting to again

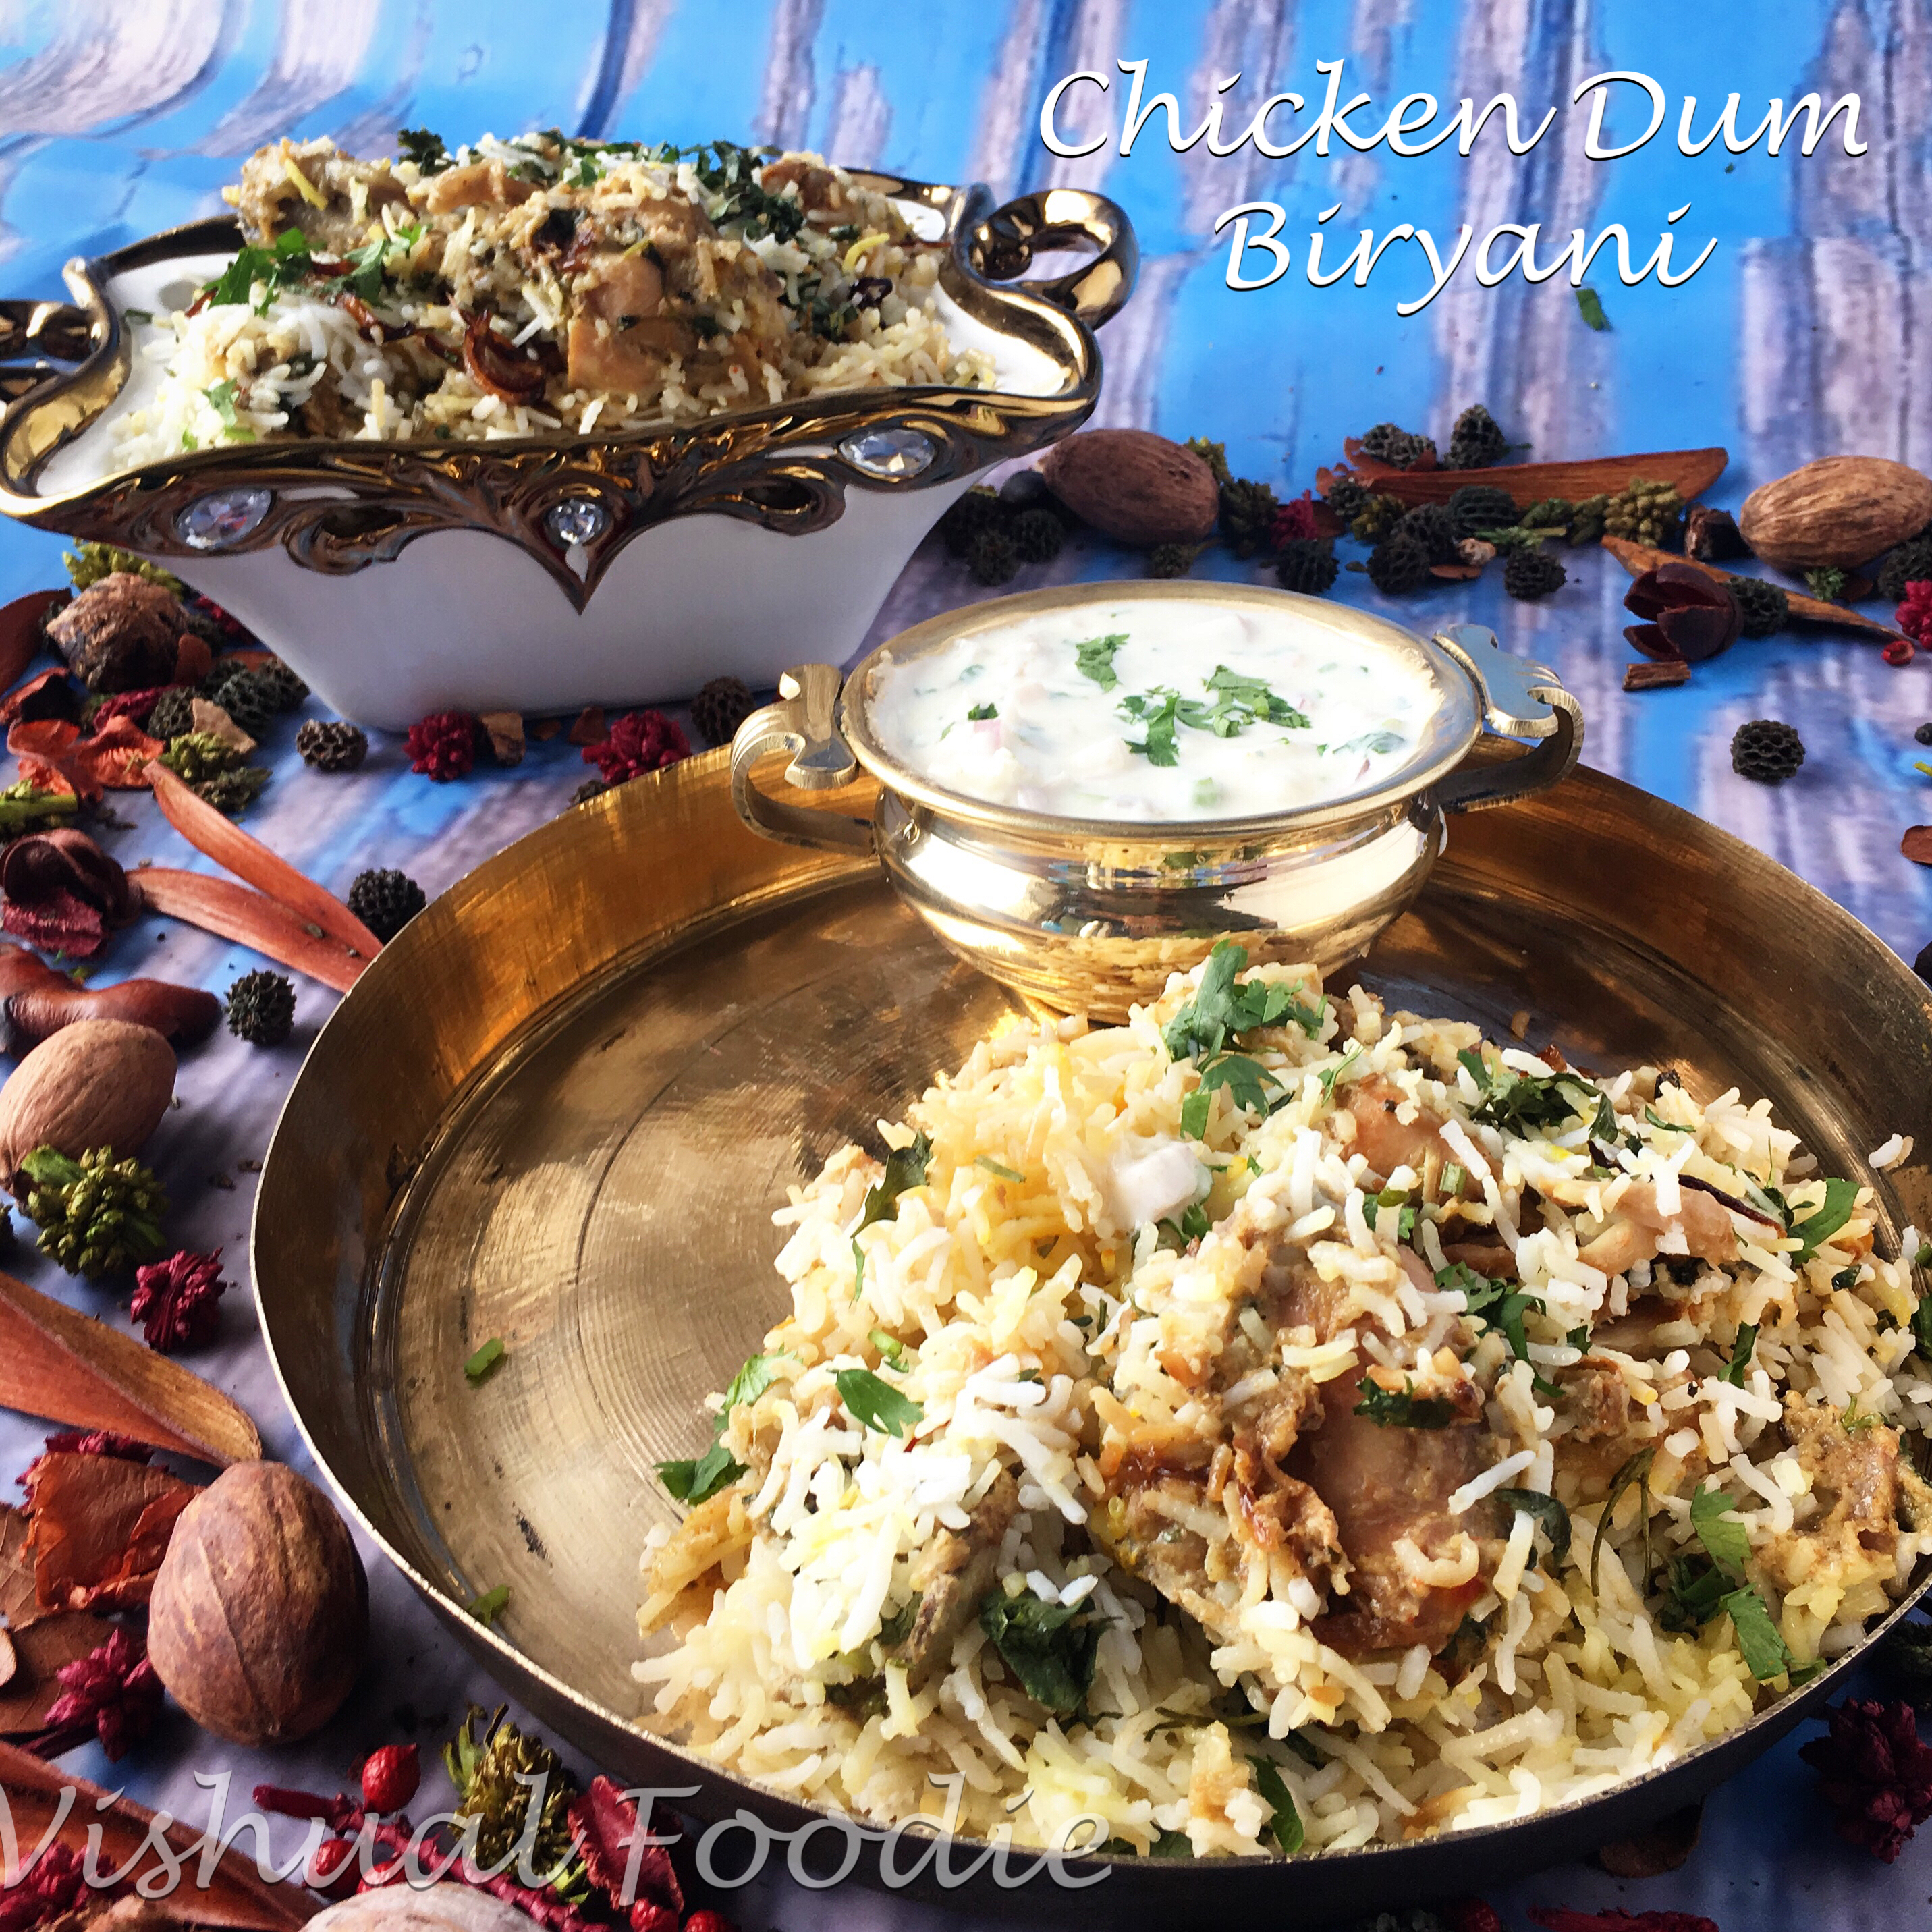
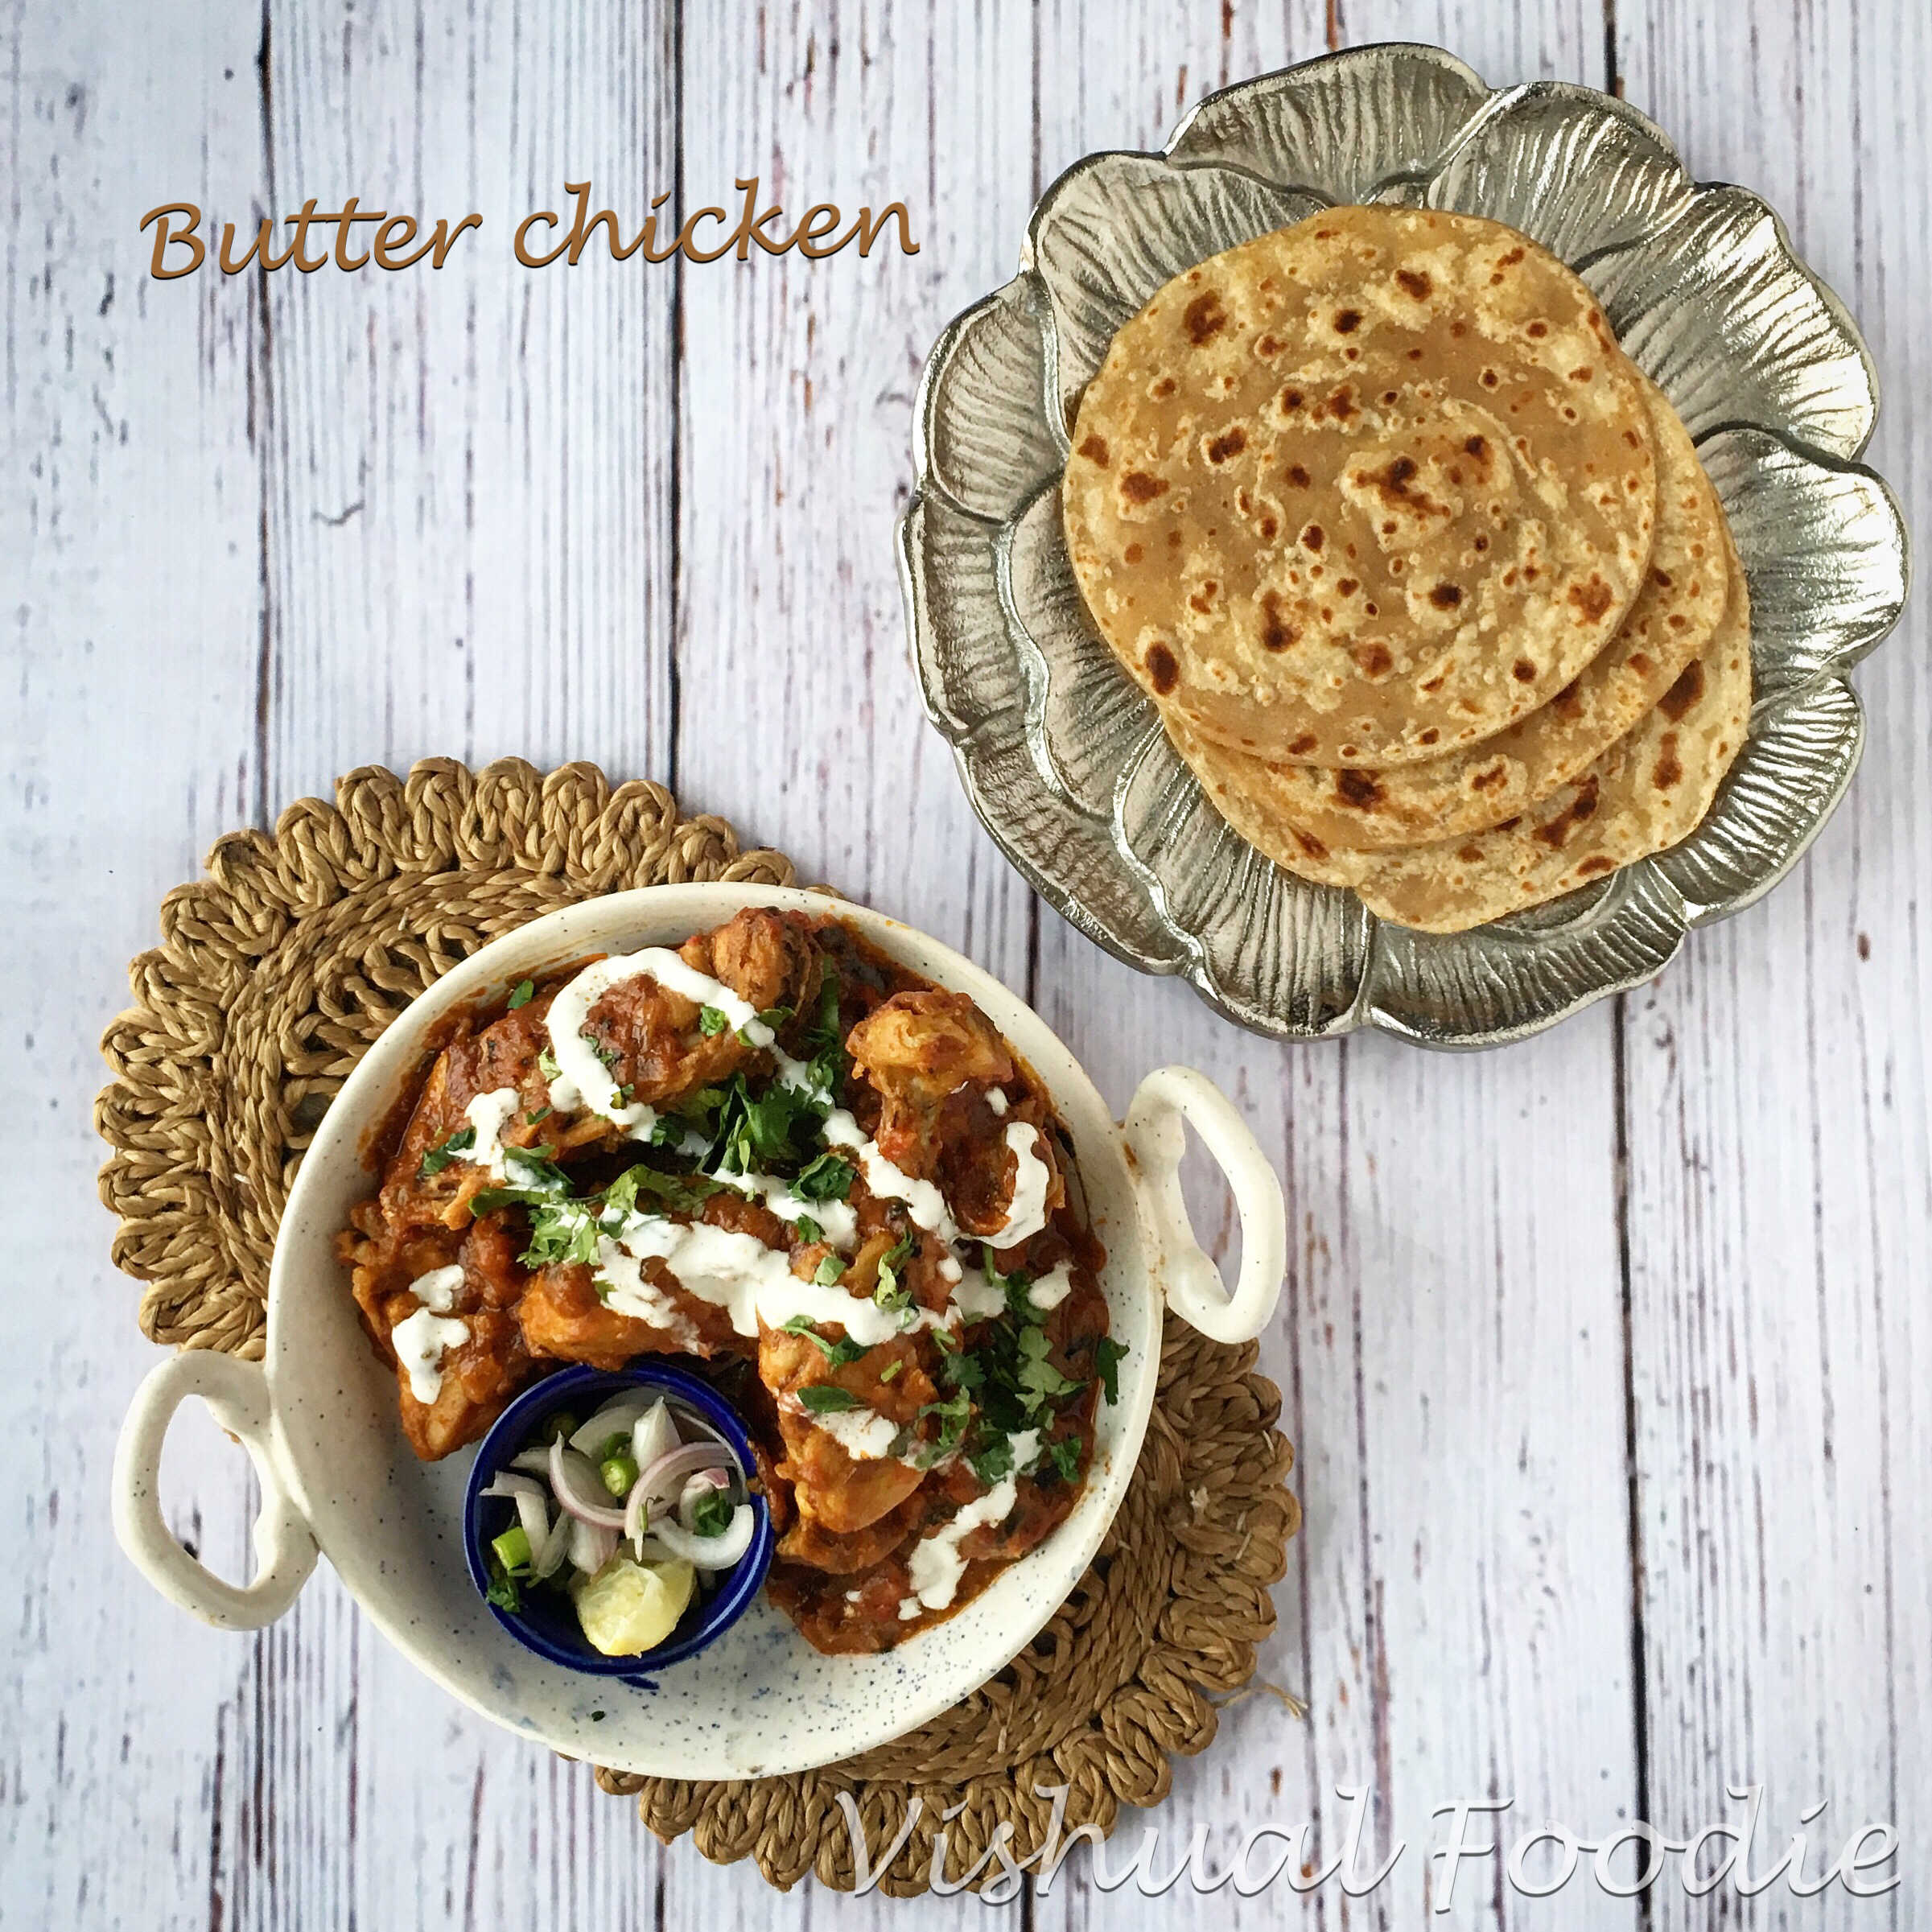
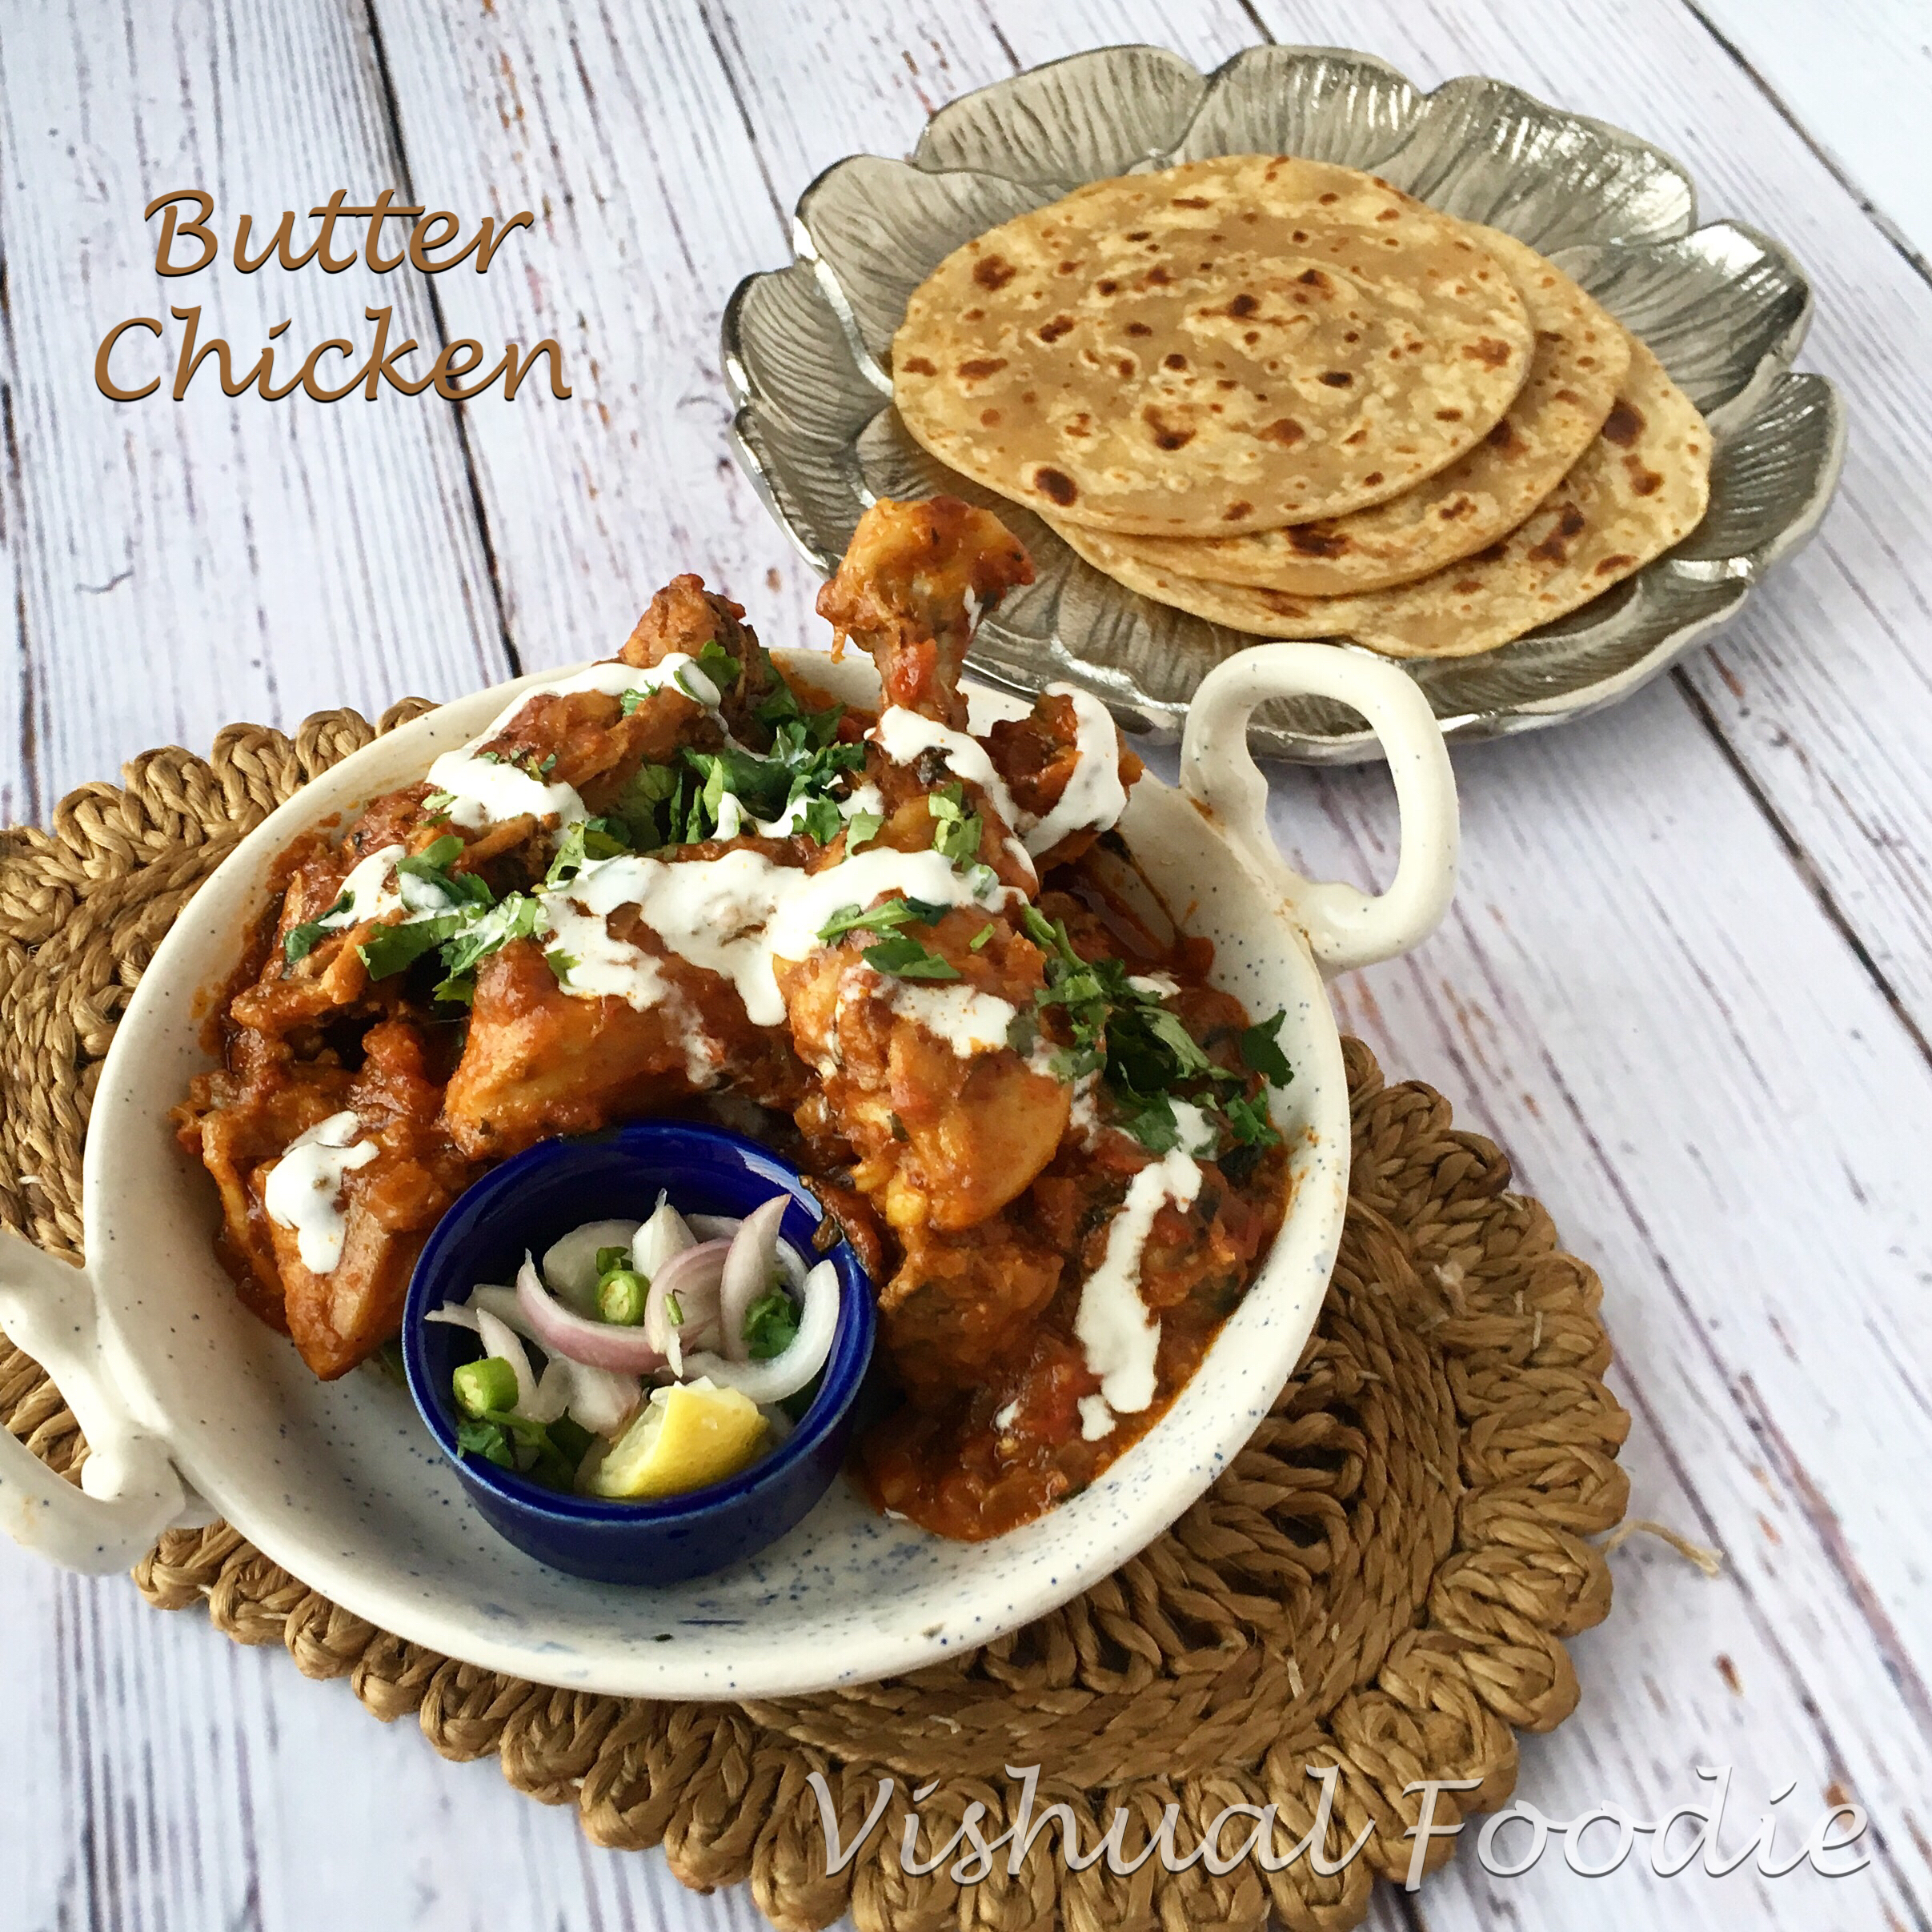
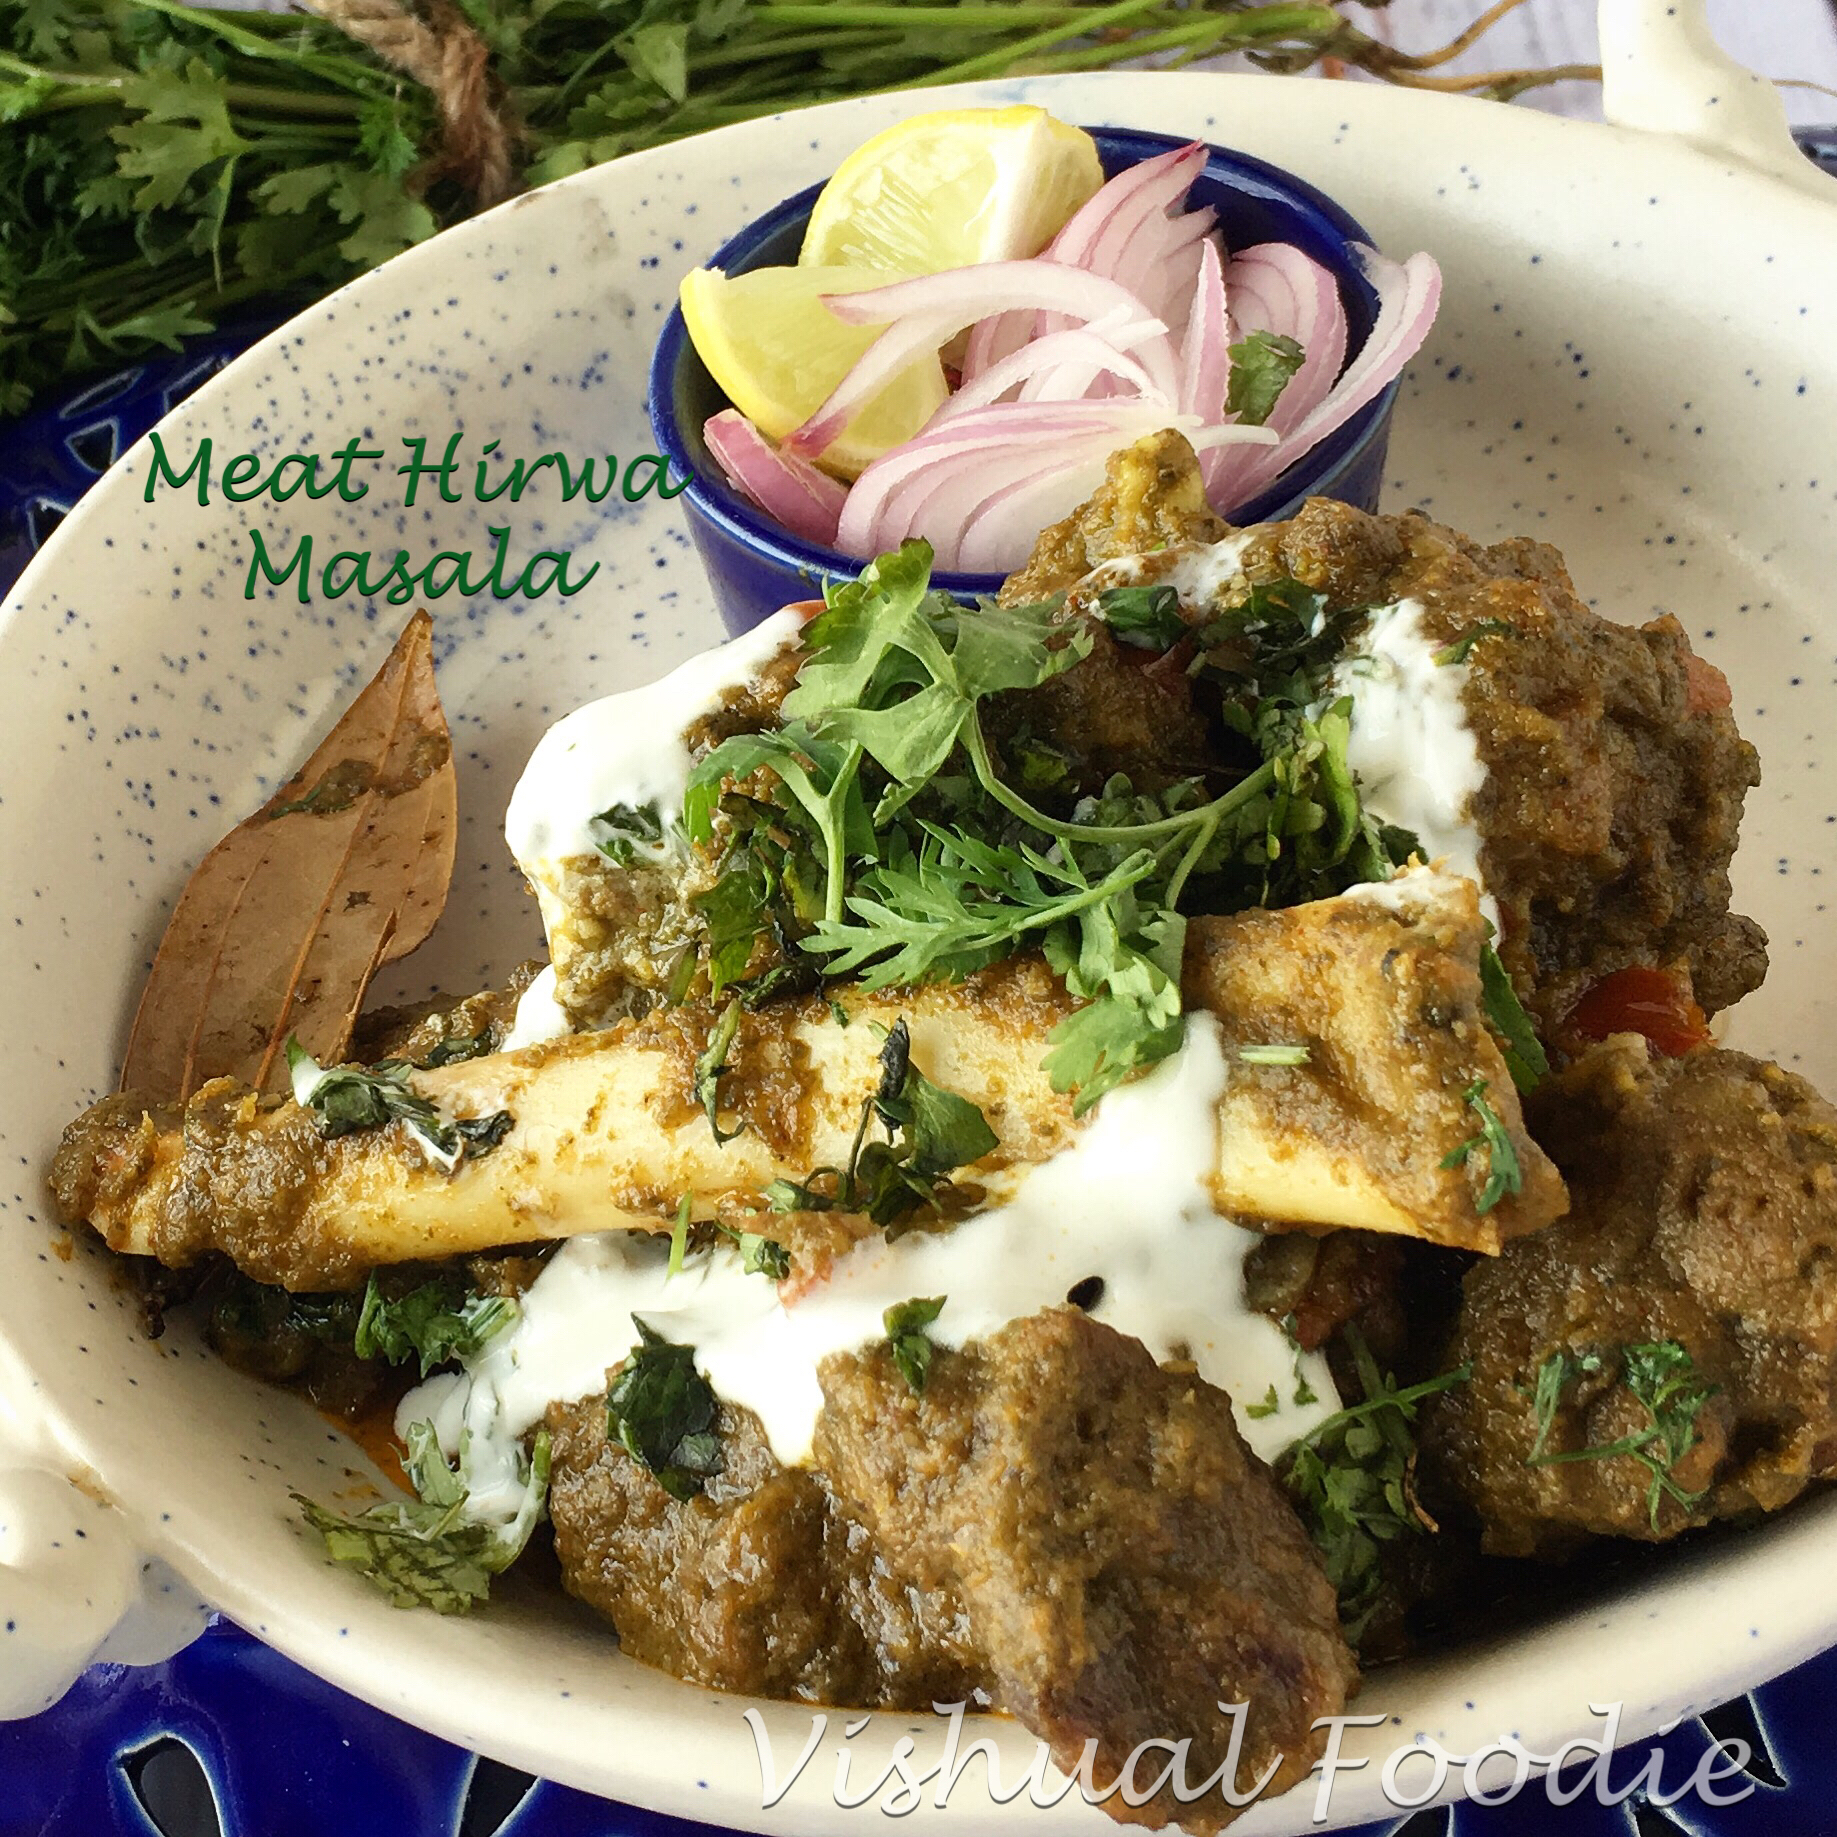
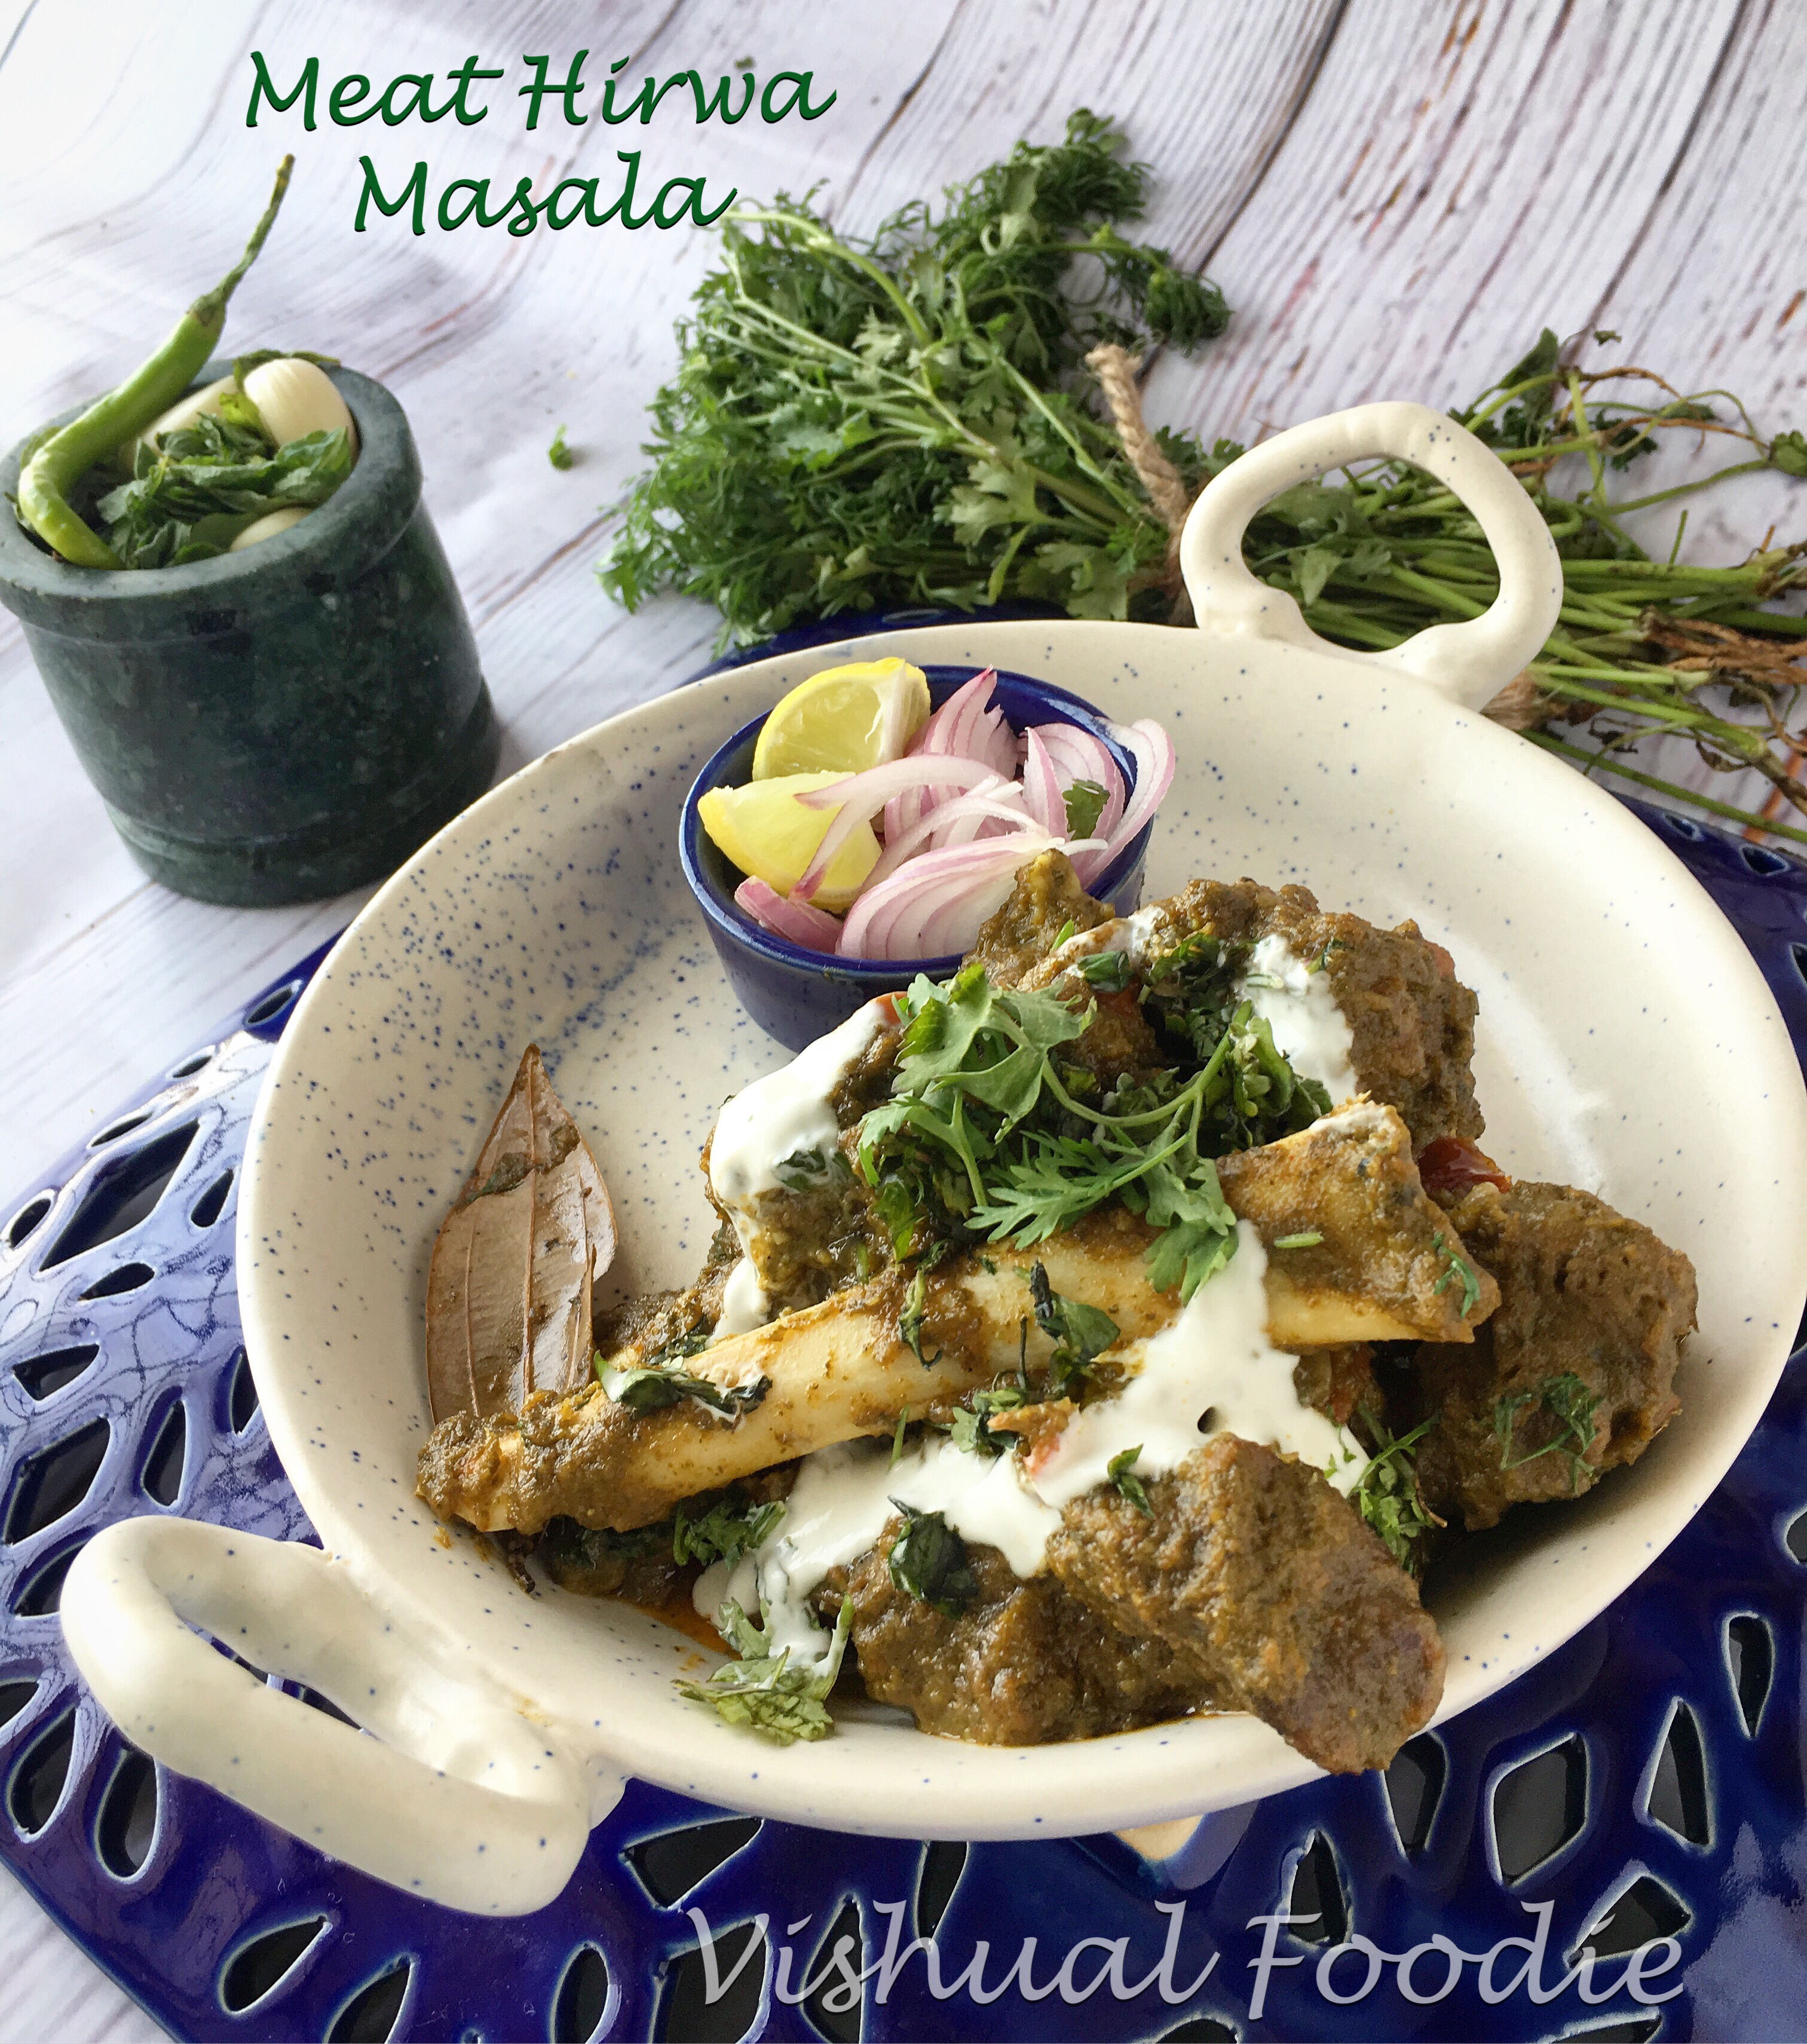
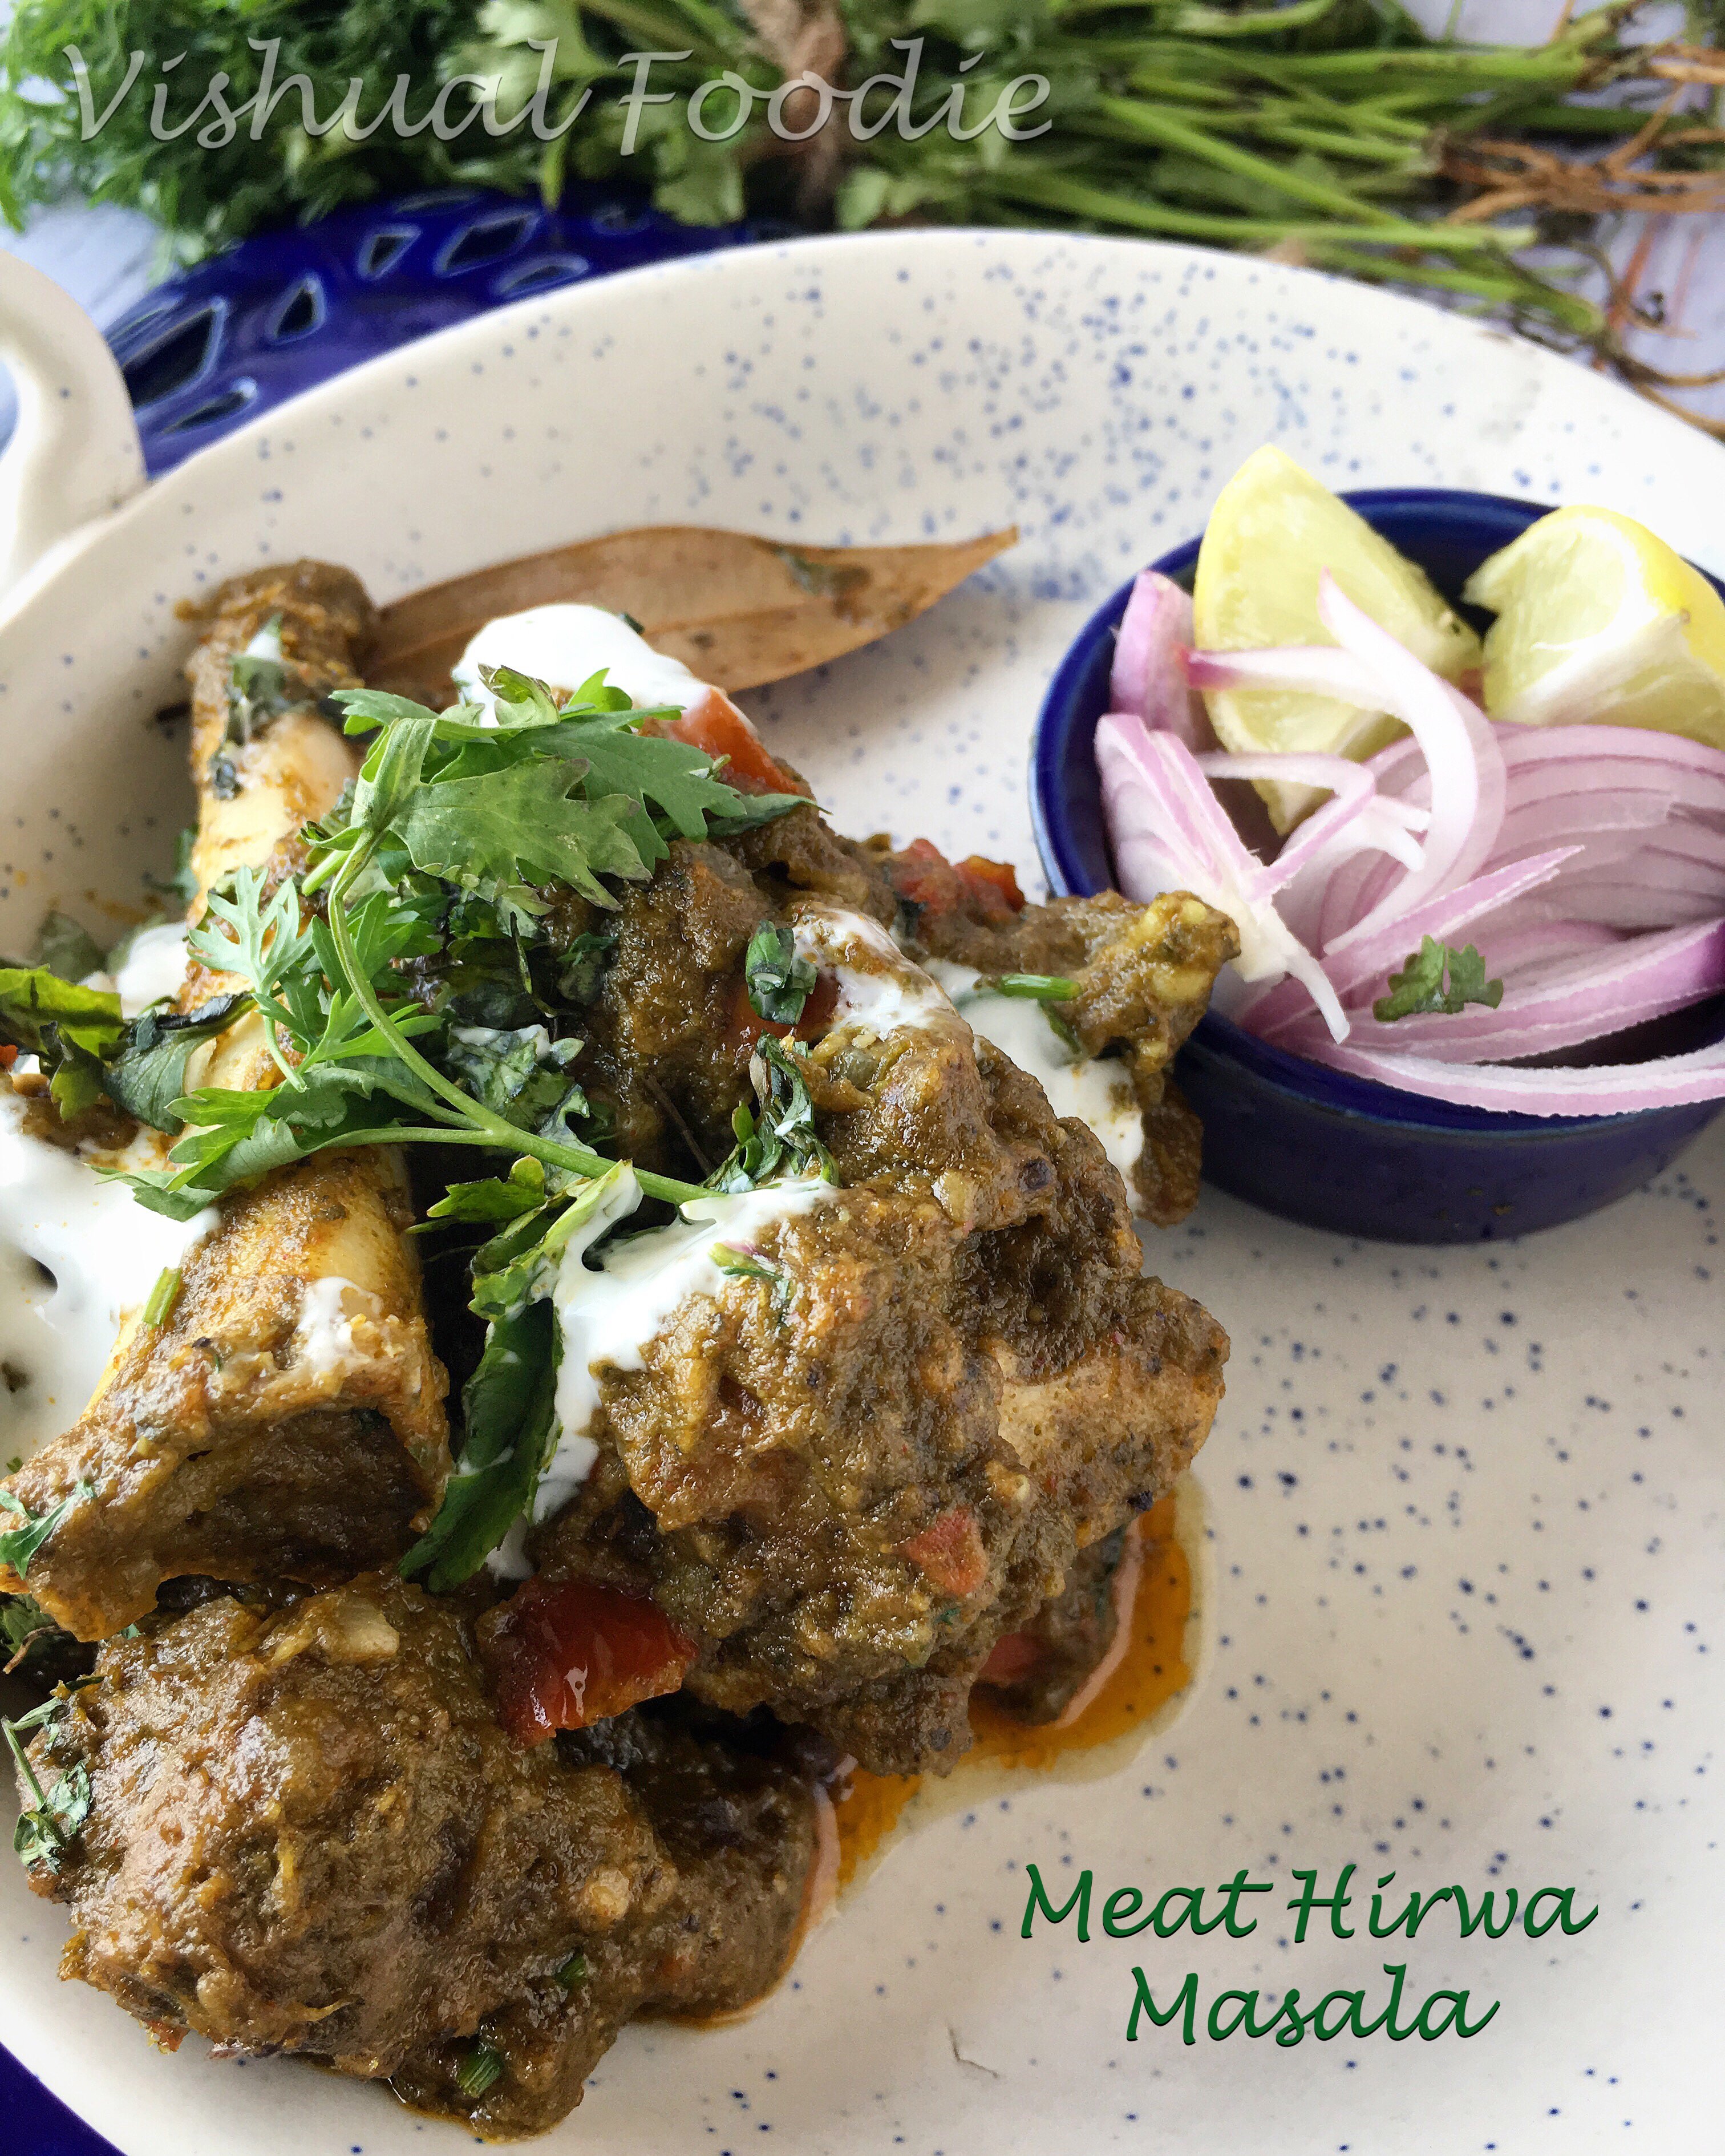
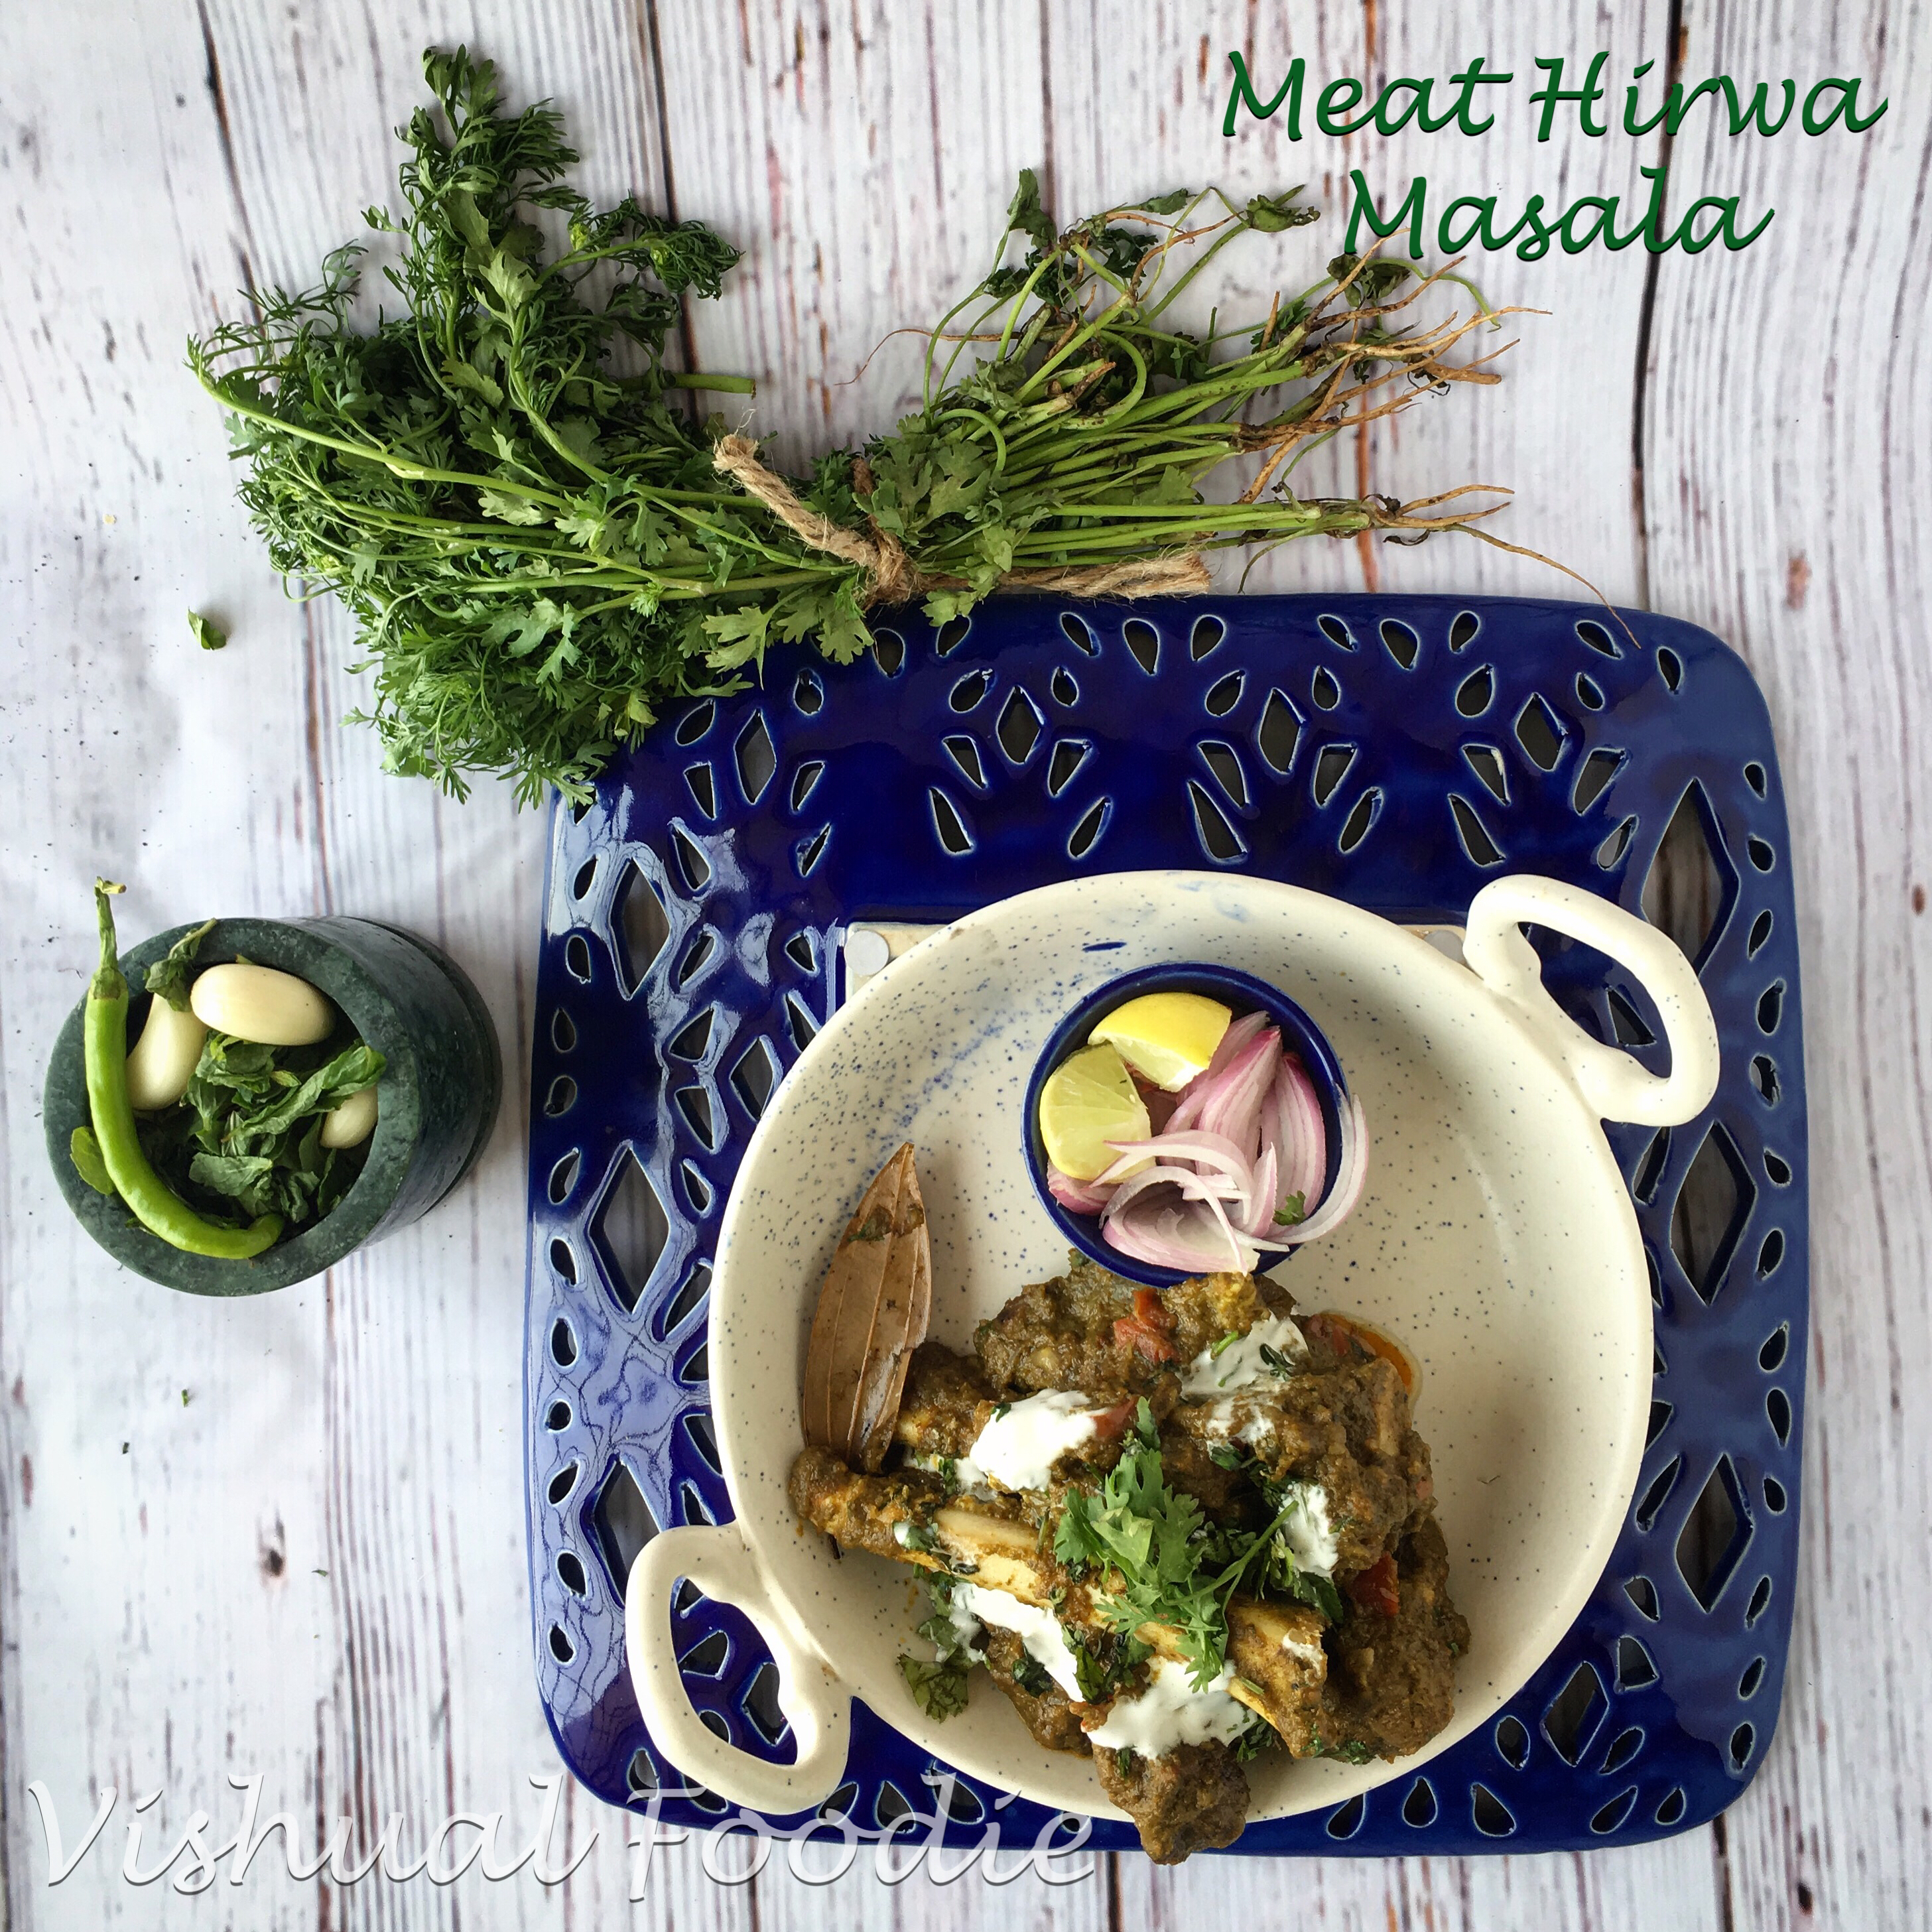
I always land up trying new recipes in bakes but this time it was back to my first love – Cooking. Made this chicken angara inspired by a recipe video I had seen ages afo. It’s fiery in colour and u can choose ur spice levels without affecting the colour. The finale of smoking the dish using the dungar method is what takes it a couple of notches higher

Ingredients
Marinate for 4 hrs
1 chicken
1 tsp ginger garlic paste
Half lemon
1 cup hung curd
1 tsp red chilli powder
1 tbsp coriander powder
1/4 tsp Garam masala
1/4 tsp haldi
1 tbsp red chilli paste
Salt
Handful of mint leaves
And whole spices tempered in ghee
Other ingredients
Oil
1″ ginger julienned
1 tbsp ginger garlic paste
3/4 cup chopped onion
1/2 cup tomato
1/3cup red chilli paste
1/4 tsp haldi
1 Heaped tbsp dhania powder
1 tsp Maida
2 tbsp cashew soaked in 2 tbsp curd
1/4 cup makhana soaked in water
One pc coal and ghee
Chopped coriander
- Marinate the chicken for minimum 4 hrs.
- Soak the cashew in curd and makhana in water for 2-3 hrs. Make a paste together discarding the makhana water.
- Heat oil in a pan, Add ginger match sticks, 1 tbsp ginger garlic paste.
- When it sizzles, add 3/4 cup onion and fry it
- When it’s fried well, add tomatoes, red chilli paste, haldi and dhania powder
- when it leaves oil and the tomatoes are fried well, add the chicken with all the marinade and salt.
- Let the chicken cook covered.
- Once the chicken is done, remove excess liquid and thicken it in a separate pan with little Maida
- When the liquid is thick, add it to the chicken and mix the cashew & makhana paste. Mix it well. Shut the gas
- Heat a piece of coal on the gas till red hot. Then place it in a steel bowl and place the bowl in the chicken gravy. Pour ghee over the coal and cover the lid of the vessel. The smoke will add an amazing flavour to your gravy
- Garnish with coriander


Recent Comments